How to teach Young Learners to write stories in English?
- Gosia Malinowska-Gdaniec

- 25 paź 2022
- 5 minut(y) czytania
Writing is seen as a difficult and time-consuming activity and very often is neglected in the classroom. Needless to say that it is even more complex when teaching kids who have not fully developed their writing skills in L1 and are not able to transfer them to the EFL classroom. However, when set up well, writing can be an engaging activity that provides young learners with opportunities to practise new language with more “thinking time”. In addition, it triggers personalisation and creativity which enhance language learning. Here are 6 tips on how to plan for successful writing lessons with Yls. Below the tips, you can find a lesson plan: ‘ A Spooky Story’ showing how to build a lesson around a 10-sentence story.


6 tips on successful story writing with YLs:
1. Activating Schemata
Start with setting the context by showing a picture, an object or playing some music. This will help your students with cognition and perception something which is referred in psychology as ‘schemata’ – a mental model of aspects of the world. In other words, this will help you trigger what they already know about the topic and allow you to pre-teaching vocabulary and work on any emergent language. When drilling words, remember to ask your students to repeat chorally and individually.
2. Model Text
Always introduce your lesson with a model text. It would be great if you could personalise it and tell your own story or at least make it up yourself. Offer your students some listening and reading activities around it.
3. Implicit grammar
Remember you don’t need to teach grammar explicitly. In fact, it is not a good idea to do it with children under 11 as, in most cases, their abstract thinking hasn’t developed yet. Focus on ‘language noticing’ and teaching language ‘in chunks’ instead of introducing grammar rules and meta language, e.g. names of tenses.
4. Scaffolding and differentiation
Scaffolding and differentiation are the pillars of teaching YL students. Each teacher should have such activities up their sleeve for every single lesson, but it is especially important when writing skills are concerned as many students struggle with spelling and/or have Special Educational Needs (e.g. dyslexia). To facilitate the written tasks, we can, e.g., provide students with the cut-up words they need to stick in the gaps or give them the first letters of the words that need to be inserted. What’s more, it is also helpful to let your students see the full text if they get stuck. You may stick it on the walls and your students follow the procedure: ‘stand up - read - memorize - sit down - write’.
5. Template and Success Criteria
Children and Teens always need to be clear of what they are supposed to do as otherwise it may cause chaos or they will simply fail to produce the piece of writing. That is why, it is advisable to provide them with a template where they have a designated space to write and draw as well as some space to write down the Success Criteria. This is an AfL (Assessment for Learning) technique which helps to ensure that students know what is expected of them, e.g. the number of sentences to write, words to use, etc.
6. Movement
Don’t forget about movement. Your writing lessons don’t need to be static. As always when teaching children and teens, it is good to remember about ‘settlers & stirrers’, i.e. planning activities that calm your students down after the energizing tasks.
A spooky story: an example lesson plan
Writing lessons do not need to require a lot of preparation. Here are some ideas on how to build a successful lesson around a very short story that is only 10-sentences long. The lesson can be adapted to suit the needs of A1/A2 level students and it can be delivered during a 45-, 60- or 90-minute-lesson.
Procedure:
Stage 1 Warm-up
The teacher shows a picture of a well-known castle and asks: What’s this? Where is it? What can you see there?
Students may come to the board to draw the objects that can be found in a castle. The teacher writes the words next to pictures. Pre-teach: castle, sword, dress, stairs, ghost + Halloween vocab (optional – then the stage will be longer)
If your words don’t come up, then you draw them and your students guess.
Stage 2 Drawing dictation
Tell your students you are going to tell them a story in 3 parts (handout 1)
divide them into groups of 3
Students listen and when you stop they need to draw the story
give out 1 piece of paper and a marker per group. Choose a ‘painter’
this is repeated for part 2 and 3
you may play some scary music in the background for part 2&3
If you feel your students need support, you may display the text on the walls (cut into parts). They need to stand up and find it.
finally, you compare the pictures and retell the story together


Stage 3 Reading & Writing Practice
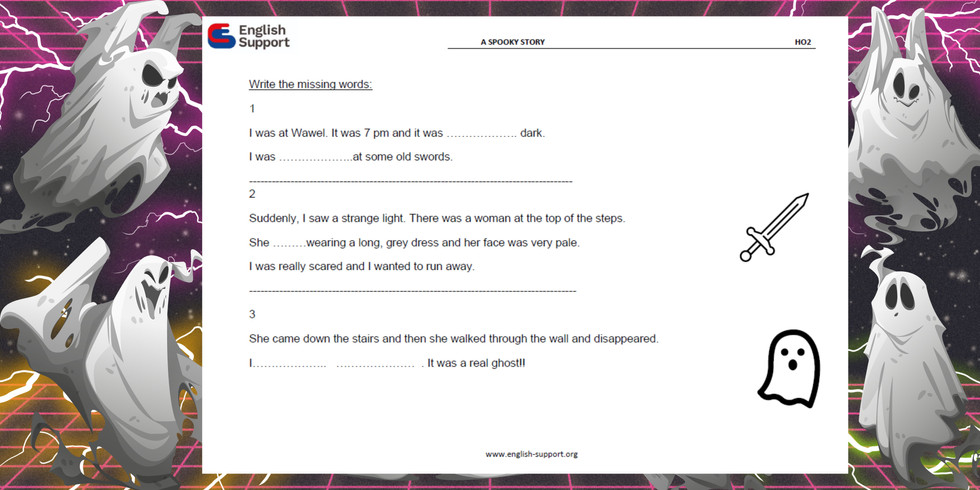
students complete the missing words from the story. (HO2)
do the first part together on the board and ask CCQs (Concept Checking Questions), e.g. When was it: now or when I was on holidays? In the past?
part2&3 students complete in pairs
put the full text on the walls for weaker students to check (they stand up, read, memorise, go back and write)
check it together

Stage 4 Language Focus
rewrite the words and phrases from handout 03 on A4 pieces of paper and put them on the floor
students take turns to jump on the pieces of paper imagining they were crossing the river. It can be done as a competition in teams
students who cross over, sit down and make sentences about the text (handout no 3)
early finishers can write an extra sentence or two
if you feel your students don’t need this practice, you may move on to the next stage


If your lesson is 45 minutes, students write the story at home. If it is 60 minutes, they write in class and may finish the pictures at home.
Stage 5 Writing Practice
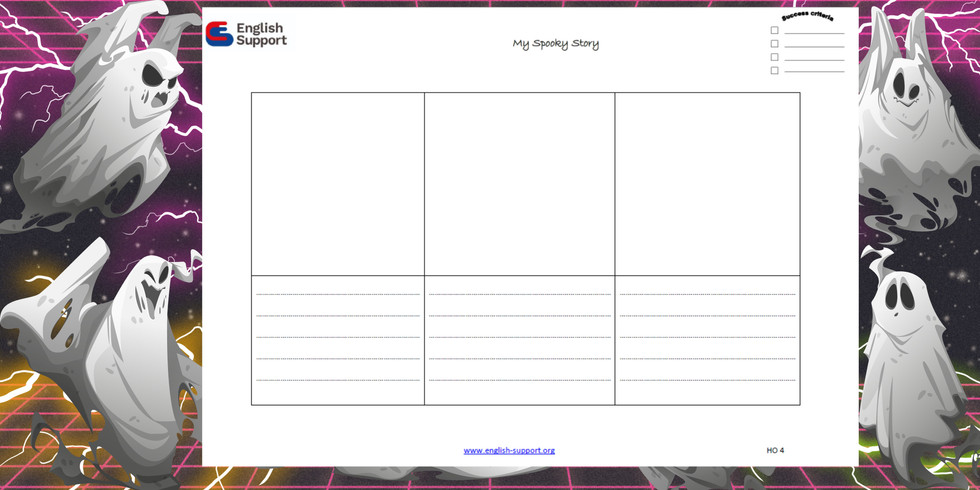
come up with Success Criteria together
students work in pairs
they have to write a spooky story and draw 3 pictures (handout 04)
the teacher monitors and corrects if needed
with low-level groups you can give more scaffolding, e.g., students only finish the sentences with their own words

Stage 6 Peer feedback
students exchange copies with other pairs and give feedback, e.g. using ‘2stars and a wish’ technique writing it on post-it-notes
Stage 7 Speaking Practice
students practise the story to act it out. The group decides on Success Criteria of the show
Stage 8 Speaking Practice
students act out their stories. Copies of all the stories are displayed on the walls with text covered (post-it-notes). The group needs to listen and guess the pictures for the story. SC are assessed by the class


If you wish to download the lesson plan and handouts in the PFD version, sign up for our newsletter at the very bottom of this page.
Komentarze